HOW TO MAKE A PLEATED LAMPSHADE

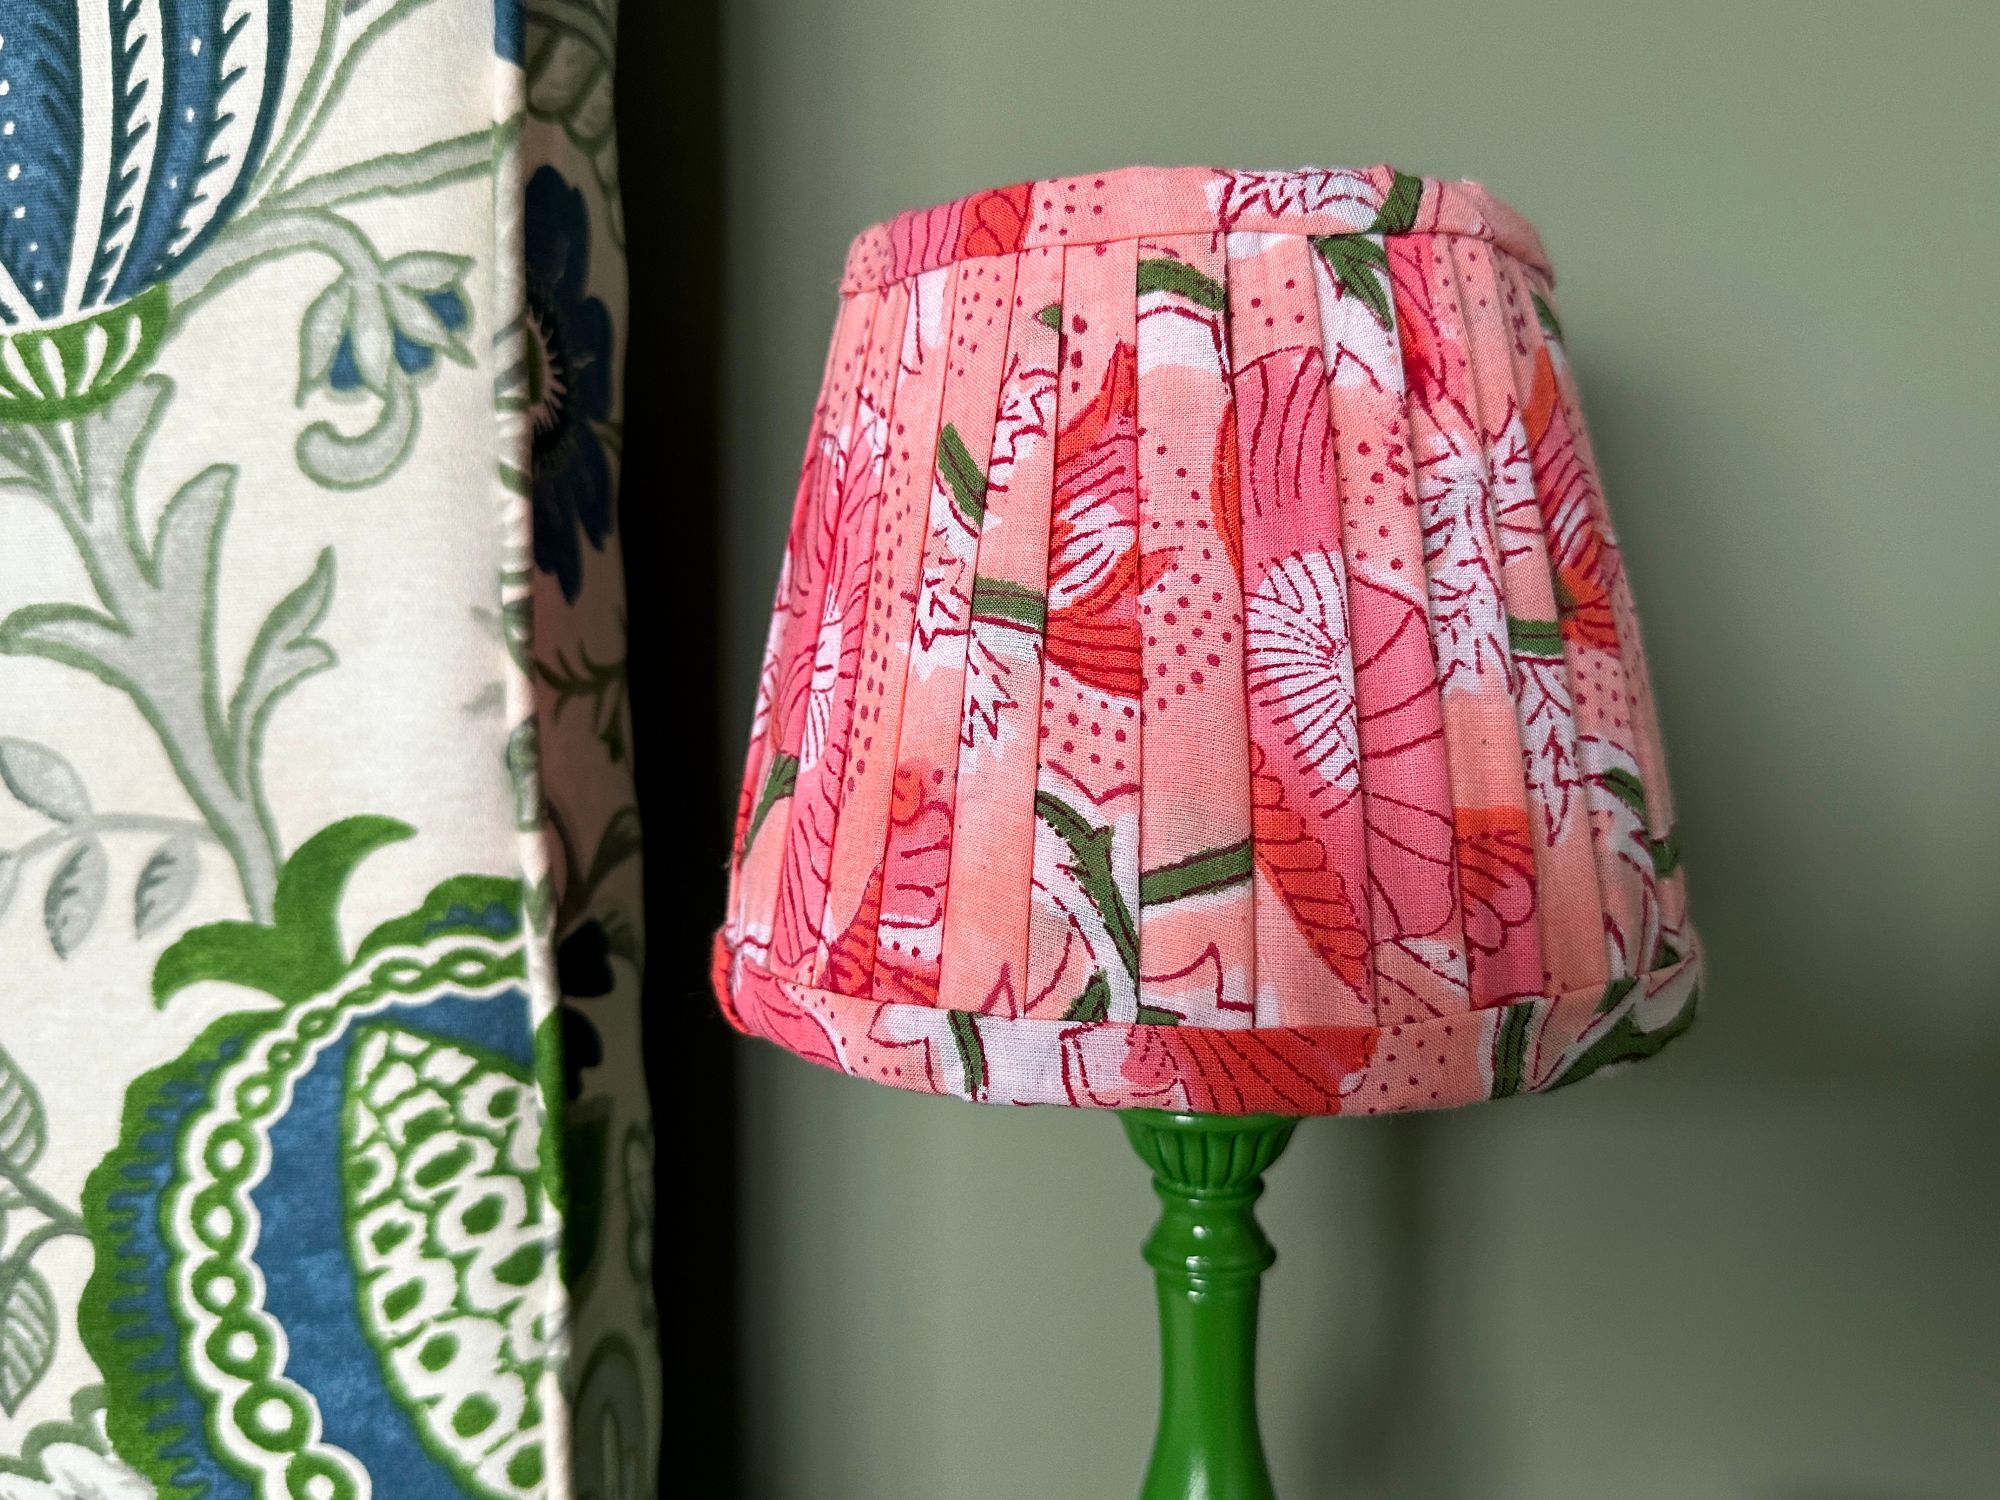
Pleated lampshades are big in interiors right now, but they can also come with a hefty price tag (rightly so, they aren't quick to make!) I needed some small lamps to fit on our new bedside shelves, and found these plain white ones from Dunelm. I wanted to make them bolder so chose a pink and green floral fabric to jazz up the lampshade and spray painted the base in a green gloss.
I'm going to show you how I made the pleated shade so you can recreate one yourself. I went with the cheat version - I used a glue gun! It can get a little messy, so may be best to try with a printed fabric to hide any imperfections if you haven't had much practice.
Step one: Measure a strip of fabric the same width as the lampshade and add around 3cm of fabric on each. You can add more and cut it down afterwards if you're unsure. You will need a couple of metres, depending on how big your shade is, but if you run out, you can just cut another strip and add it on.
Start by glueing the end of the fabric onto the lampshade. Pick up the fabric and fold it over and place it on top of where you have just glued.

You need to continue this around the whole shade. Glue on the outer edges of the shade, rather than across the whole pleat. If it is a tapered shade, you will need to make sure the folds are slightly wider at the bottom than the top as you work your way round, to make sure the fabric stays straight.

Step two: Once you get to the end, you need to finish it off neatly. I created a final pleat, then tucked the end raw edge into the pleat beneath it. This can go at the back of the shade so you don't see it.

Step three: Wrap the fabric around the bottom of the shade and glue in place. Do the same for the top and pull it taut to make sure it looks neat.

Step four: Cut two more strips of fabric, one to wrap around the top and one for the bottom.
Place some glue around the outer top edge. Fold the edge of the strip so you can't see the raw edge, then stick it onto the shade. Next, wrap it around the inside and glue in place. Try to keep it even all the way around and repeat on the bottom edge. Line up the join with the back of the shade.

You're done! It can take a bit of practice to get the folds even and the glue neat, so have a go with some spare fabric first if you need to.
Let me know what you think and if you have a go! Tap the photo below to go to the Instagram reel if you'd like to see the instructions in video form.


Comments